13.5.15

The Best PowerPoint Alternatives

PowerPoint has been the king of presentation software for as long as I can remember, but the development of HTML5 and other web languages have provided a type of rich farmland for other presentation tools to form.  Below you will find some of my favorite PowerPoint alternatives for both my use and for students.  Most, but not all, are platform agnostic and/or web based so they should work with any technology you have available.

"Traditional" Presentation Tools

Blendspace

Blendspace isn't a true PowerPoint replacement as much as a PowerPoint (or Slides/Keynote) enhancer.  Blendspace allows you to create a presentation that is a mixture of videos, presentations, pictures, and quizzes that you then push out to the students to progress through at their own pace.  There is also a huge library of pre-created presentations so you don't have to feel like you need to reinvent the wheel.


Google Slides

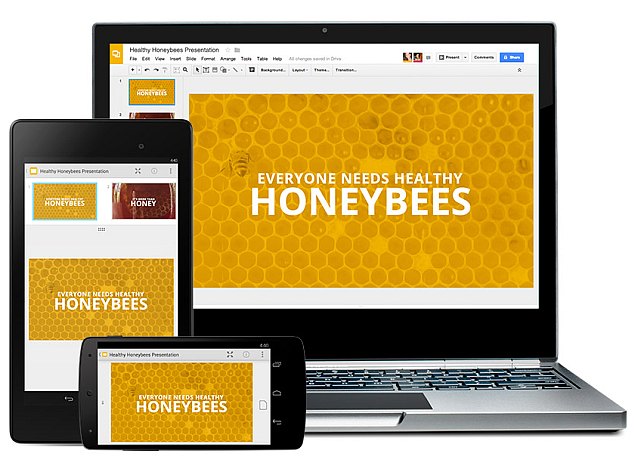
Google Slides is Google's version of PowerPoint (obviously).  There are a lot of strengths to Slides, like the ability to collaborate, and publish as/embed in a website, just to name a few.  But don't confuse it as a direct comparison to PowerPoint.  PowerPoint will let you do clip art and cheesy animated slides to your heart's content, but don't expect the same "jazz handed" showmanship with Slides.  With Slides you will get functionality, versatility, and portability in a way that PowerPoint just can't.


Prezi

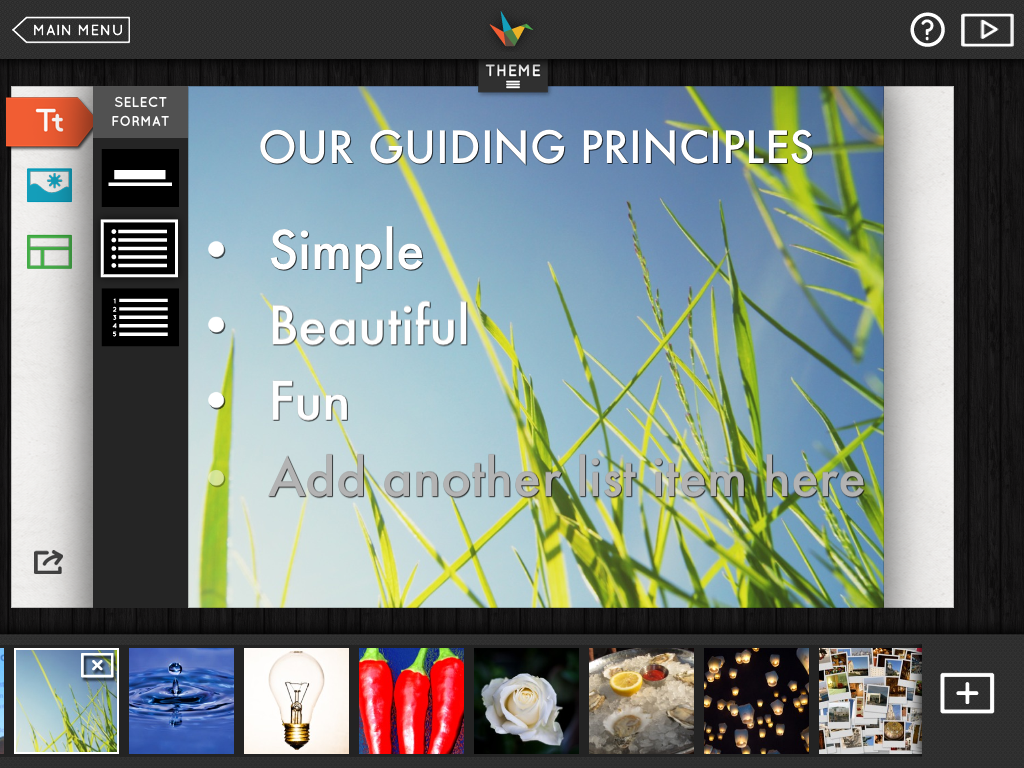
I hesitate to put this on the list because it is almost as overused as PowerPoint, but Prezi (when done right) has the ability to be spectacular.  If you've never seen a great Prezi just imagine PowerPoint reimagined by Siegfried and Roy.  It is fluid, active, and, in some cases, show stopping.  Unfortunately, they tend to be less Vegas Strip and more Hee Haw: corny, overused, and nauseating.  With that warning it is best to keep in mind that Prezi is best used when the audience has the ability to interact with the presentation instead of sitting and watching.  When the audience interacts with Prezi they can progress through the presentation either in a "tour" mode or "freestyle".


Haiku Deck

If your goal is Spartan-like simplicity combined with minimalist beauty then Haiku Deck is the presentation tool for you.  The background is the focal point for this presentation tool.  The idea is to use less text and charts (though the charts are pretty cool) so that you spend more time focused on the important parts of the presentations.  This is a great tool for student presentations because it forces them to not read off a screen, and for lectur.


Video Based Presentation Tools


Zaption

Zaption is one of my new favorite presentation.  It utilizes video clips to create a hybrid video lesson/quiz/class discussion.  Insert videos from anywhere, add your questions, and present.  It is that simple and it is always engaging.  You can see a great example of a Zaption here.


Adobe Voice

This is one of only two tools on this list that isn't device agnostic.  Adobe Voice only runs on iPads, but it is such a cool tool I had to keep it on this list.  The idea is simple:  your voice is the star of the presentation. If you have a voice like mine you are probably saying no way, but it isn't as bad as it sounds.  You pick a video type and template, drop in some icons or pictures, and ad your narration.  Adobe Voice takes care of the the timing and animation to create a professional quality video in minutes.


Touchcast

Touchcast is another video presentation tool that isn't completely device agnostic.  You have to create the videos on an iPad or with a desktop app, but you can watch the videos on any device through the free Touchcast service.  The great thing about Touchcast is it is more than just a video recorder.  It has built in tools like inlays, teleprompter, annotator, and vApps just to name a few.


"Hacked" Presentation Tools


Blogger

Blogger isn't technically a presentation tool because it actually a blogging platform, but I have used Blogger several times for presentations.  Because it is a blog it will be more text heavy than other tools, but that is a benefit if you want students to go through a presentation at their own pace.  I use Blogger for professional development because it is a great place to warehouse a lot of information that I can pull up for a quick presentation or refer people to if they need help.


Smore

Smore is a great newsletter creation tool but works equally well as a presentation tool for teachers.  With Smore you can create visually stunning presentations with a combination of text, graphics, and videos, slideshows, links, and more.


Tackk

If Haiku Deck married Twitter, their child would be Tackk.  With this tool it is super simple to create beautiful presentations and then share with the world.  From their registered users can comment on and share presentations.

Web Ready Presentation Tools


Piktochart

I love Piktochart.  Piktochart is an infographic creation tool that is simple to use and requires little to know graphic design experience.  You can use either professional pre-designed templates or start from scratch to create infographics fit for flyers, posters, websites, or presentations.  The added ability to add live updating charts and really cool transitions makes this a really powerful presentation tool.


Canva

Canva started off as a web based graphic design tool for novices that wanted to make a polished graphic without the fuss of Photoshop.  Since then Canva has developed into the go to place for web based graphic creation.  It is user friendly, chalk full of helpful guides and templates and even has a presentation tool.  It gives you the beautiful look of Haiku Deck with the flexibility of Piktochart.


Thinglink

Thinglink makes it on this list because when it comes to audience driven presentations Thinglink is the way to go.  Thinglinks consist of a background image that has interactive dots layered over the top of it.  The dots can be links to websites, videos, documents, social media feeds, etc.  It is a great way to let students explore content at their own pace and in their own way.


Update 5/14/2015

I was introduced to two other "PowerPoint Killers" yesterday so I thought I would mention them here.

The first is Emaze.com which is a like a newer and more user friendly version of Prezi.
The second is Slidedog.com which is very similar to Google Slides.  You get more pizzazz, but less Google integration.

3.3.15

Using Infographs in the Classroom


Infographs/infographics are a great way to visualize and organize information.  A quick Google search will show millions of infographs with info ranging from the parts of a hamburger to the impact of plastic waste on marine life.  The reason for the rise in the popularity of infographs is largely due to the fact that they no longer require the knowledge of a graphic design to create.  Sure, you can use Photoshop or Illustrator, but other free web tools, like Google Drawing and Piktochart, make infographics accessible to everyone.

In regards to data or historical facts it is easy to see the value of putting the information in a visual format like infographs.  What is less obvious is how infographs can be used to explain intangible information like analysis or mathematical theorems.  I recently had my students create infographs charting/explaining motifs in the first five chapters of The Great Gatsby.  I gave them four simple guidelines and two means by which to create the infographs.

Guidelines:
  • The infograph must have 5 or more graphical elements (i.e. charts, graphs, pictures, etc.)
  • The infograph must show the progression of the motifs
  • The infograph must cite evidence of the motifs throughout the first 5 chapters
  • The infograph must explain the importance of the motifs
Creation Options:
  • You can create the infographic on butcher paper
  • You can create the infographic using Piktochart or Photoshop
For those of you that don't know Piktochart is a free, web-based infograph creator.  It took a little time for the kids to get accustomed the the user interface, but once they did it was second nature for them.
It was also important to publish the infographs for a real audience.  So they added them to their blog, and I added them to a Thinglink (above) that I tweeted out.

11.2.15

Gmail Labs


One of the most beloved features of Gmail is the Labs (beta versions of possible Gmail features).  Labs are turned off by default because they are experimental features that may or may not make into future releases of Gmail.  Because the lab experiments are, well, experimental, they can act erratically and are sometimes half-baked.  Despite that, I have had good luck over the years with several of the labs.  Here are a few of the labs that I love.

Mark as Read Button:  Adds a button in the top menu bar that allows you to mark an email as read without having to dig into sub menus.  It is a huge time saver.

Canned Response:  I seem to write the same email over and over again to parents.  Canned response makes the process a lot less painful.  You type an email and save it as a canned response.  Next time you need to send out the same email, you just insert the canned response and press send.  You can find a how-to on creating canned responses here.

Apps Search:  There are times that I am tired of swapping between Drive and Gmail to find things.  Was it emailed to me as an attachment, or shared via Drive?  With the Apps Search lab you can use the Gmail search bar to search your Drive as well.  It searches only the titles of items in Drive so it isn't as powerful as the search feature in Drive, but it has saved me a few headaches.

Preview Pane:  I miss the preview pane in Outlook.  In fact, it is about the only thing I miss from Outlook.  This lab brings that feature to Gmail.  You can put your preview pane either below or to the right of the the message list.

Undo Send:  There are times that I send an email only to regret pressing send.  Undo send gives me an option to unsend an email.  The only drawback is that I have to make the decision within 30 seconds because that is all the leeway they give you with this lab.

You can find instructions on how to enable Labs at Google's help site.  If you would like to know more about Gmail labs you can visit the Google Guru or checkout his YouTube channel.

Leave a comment below and let me know what you think and what Labs you love.

Using Filters in Gmail

Gmail is a powerful email client based in part on its ability to apply an infinite number of filters on incoming and outgoing emails.  If you are unfamiliar with the concept of email filters, they are a set of rules you set up that determines what happens to certain emails when they come into your inbox or out of your outbox.

You can create filters in at least three different ways (there may be more, but this is what I have found so far).  The first is from the search bar at the top of the Gmail tab in Chrome (please tell me you are not still using IE).

The search bar looks like this.  Notice the small down arrow to the left of the magnifying glass
The down arrow to the left of the magnifying glass gives you quick access to creating filters.

Here you can set what emails will be filtered.  They can be filtered by incoming/outgoing email address, subject line, key words, or lack of key words.  You can even filter based off of attachments and email size, or combine multiple parameters.  This is useful if you want to filter emails from a certain person on a specific subject.  Once you have put in the parameters select "Create filter with this search" in the lower right corner of the dialogue box.  This will take you to a new window.


This window lets you determine what will happen to emails that match the parameters you set up in the previous window.  A quick run down:

  • Skip the Inbox automatically archives the message so it never makes it to your inbox.
  • Mark as read delivers the email to the inbox but as an already read email.
  • Star it flags the email for easier access via the "Starred" tab on the left hand menu.
  • Apply label will automatically label the email for quicker searching and organization.
  • Forward will auto forward the email to a specified email address.
  • Delete will delete the email.
  • Never send to Spam will white list the email to make sure it doesn't get delivered to the spam.
  • Send canned response will auto reply to the email with a pre written response.  (You have to create it).  You can find directions here.
  • Mark as important will mark email as important.  (Useful if you use the priority inbox).
  • Never mark as important is the inverse of the previous
  • Categorize allows you to sort the emails into predetermined inboxes.  (You must have the inboxes set up before you can categorize emails).
Once you set up your filtering options you can apply the filter to emails currently in your inbox by checking the box at the bottom of the screen.  Now that everything is set up as you want, click "Create Filter" and you are done.  You can now rest assured that your inbox is working for you instead of against you.

The second way to create filters is through the settings cog on the right side of the screen.  Click on the Cog>Settings>Filters.  From their you can create and edit filters to your heart's content.

You can create a new filter by selecting "Create a new filter" at the bottom of the screen.
The third is from within an email itself.  To the right of the reply button there is a down arrow.  Click on it and then select "filter messages like this".  Follow the same steps as above.


Bonus Tip:  If you don't want to give out your email address because of fear of spam, throw in a couple of periods into the first part of the email address.  Gmail doesn't recognize the periods so they still get delivered to you.  You can then create a filter to automatically trash any email that comes to that period ridden email address.

10.2.15

Back in the Game

So, its been awhile.  Keeping up a blog can be daunting when you feel like every post should be some profound testament to who knows what.  After some sage advice and time to reflect, I have come to realize shorter and more frequent post will give rise to more timely and useful information/advice for those who so graciously read this blog.

I wax too much, time to get to the good stuff!

I just started to using Inbox, a new take on Gmail.  It automatically categorizes emails, grouping them together by content, and encouraging a tidy inbox by marking all emails as "done" or setting reminders to take a look at the email later.  Check out the link above and the video below for more info.  Right now, it seems that Inbox only works on personal Gmail accounts (or maybe just needs to be enabled by your GAFE admin) and is by invite only.  If you would like an invite, leave me a comment and I'll see if I can hook you up.